Friday, December 3, 2010

My First Tutorial! Child's Artist Beret

Wow, I don't know about you, but this is pretty exciting for me. This is my first tutorial on this blog. I'm going to show it as a post here, but I've also made it into a PDF. It may take some wrangling for me to figure out how to add that...but it's done and just a matter of getting it to work.

I blogged about making 25 of these last winter for my daughter's kindergarten class. They were doing a unit on "Fine Art", so to get themselves in the mood to work like artists, they each wore a beret, like Vincent Van Gogh, or, if you prefer, Fancy Nancy. When the teacher asked me to make them, she gave me a photocopied sheet of someone's hand written directions. Immediately I thought I should do a tutorial, and here we are, a good 7 months later. All in good time.


Please, please, share any comments or suggestions you have if you make any of these. Without further ado...


Child’s Beret – A la Fancy Nancy or Van Gogh, or whomever your favorite artist might be

Materials:
18” square piece of craft felt
2 yards of double fold bias tape
2 ½ yards of ¼” elastic
Coordinating thread

Steps:

1. Cut an 18” diameter circle from your felt

2. Pin the bias tape, open side towards the cut felt edge ¼” from the edge. Do not overlap the ends of the bias tape, but put the two cut edges as close together as you can. (See Image A) The closer you’re able to get them, while not overlapping, the better the beret will sit evenly and the more “round” looking it will appear.


3. Stitch along the open edge of the bias tape, as close as you can to the edge, ensuring that you stitch through both layers. I suggest pinning a lot. This seems to help keep the layers from slipping apart, which the bias tape seems to do when you’re not looking!

4. Make sure you leave enough room in the “pocket” of the bias tape to slide the elastic through.

5. Put a safety pin through the end of the elastic to make it easier to pull through your “pocket” of bias tape. Start at one end of the opening, and slide the elastic through, all the way around your beret. Try to keep it as flat as possible as you do this, it will help to make the beret sit flatter on your child’s head.

6. Pull the ends of the elastic together to tighten the circle up and create your beret. Use your child’s head as a guide for how large or small you need the hat to be. Knot both ends of the elastic, but DO NOT CUT IT.

7. You can knot the two pieces together and tuck them up inside the beret to keep the size steady. The reason for not cutting is that you can adjust the size as your child grows.

8. Make a tiny slit (and I mean tiny!) at the very center of the beret. You can use yarn, ribbon, or rickrack folded in half to make a loop. Once your loop is folded in half, push the folded end through the slit in the center of the beret. You can either knot them together, or make 3-4 stitches to hold it in place. (Image B)


9. Voila! You have a fancy beret to inspire your little artist to make wonderful creations. (Image C)


So run, run to make your kids some berets so they can make you some FINE refrigerator art.

Monday, November 29, 2010

UFO! Baby Clothes Blanket for Jane

Because a pretty big portion of my sewing gets done in the dark (aka before sunrise) I figured what better way to photograph this baby clothes blanket than with the morning sun coming up. I made a promise to myself that I wanted better blog pictures, so I braved the cold this morning and went out on the back porch to find some natural light.


This is a small lap quilt I made out of baby clothes sent to me by my sweetie's cousin. They are from her youngest daughter (she has three, which means there are two more projects quickly to follow behind!). The back is a crib sheet. The bag of sweet baby things has been in my sewing room since JULY! Now, in the land of my sewing room, that might not even qualify for a UFO, just something that I've put down for a few days.


Jessica asked me to make something simple (thank GOD) with squares and triangles. So every time the mood struck me, I'd carefully go through the pile and cut a few more squares. When the pile looked pretty big...I started sewing. Not very scientific, or very organized, but I have to tell you, I love the way this came out.


Of course you can see that my quilting leaves SO much to be desired still...but I did learn a whole bunch of things while I was working on this project.

1. Different fabrics, even when cut into relatively small pieces, can still give you loads of trouble trying to sew straight, with even stitches.

2. Using an insane number of pins for binding makes all the difference in how straight the stitching comes out. (Speaking of which, I see some people use those hair clips to hold their binding...do you?? why?? is there something I should know about binding using hair clips?)

3. Cats love baby clothes to lay on even more than freshly laundered fabric.

4. For some reason, the sweetness of upcycling a baby's things, even when it's not your own baby, makes the project really enjoyable. I can just imagine the adorable skirts and dresses on my cousin-in-law's daughter, and I hope she loves seeing her things made into a blanket she can keep forever.

5. I have given myself permission to love satin blanket binding. It reminds me of being little myself. I always had blankets with that kind of binding on my bed, and they seemed so glamorous to me then! I had to press into half size, or it would have taken up too much of the outer squares, but it really looks cute with the clothes. It would have taken me 10 years to make a binding out of the tiny clothes I had left.


Of course, I did all of this cutting before I bought my AccuQuilt Go! cutter the other day. I got it at Joann for $199. I've been searching and hunting for it, to find the lowest price possible, and I snagged it as soon as I saw the flyer come out. I'll be cutting my next quilt with it, so I'll tell you all about how much I love it.

Sunday, November 21, 2010

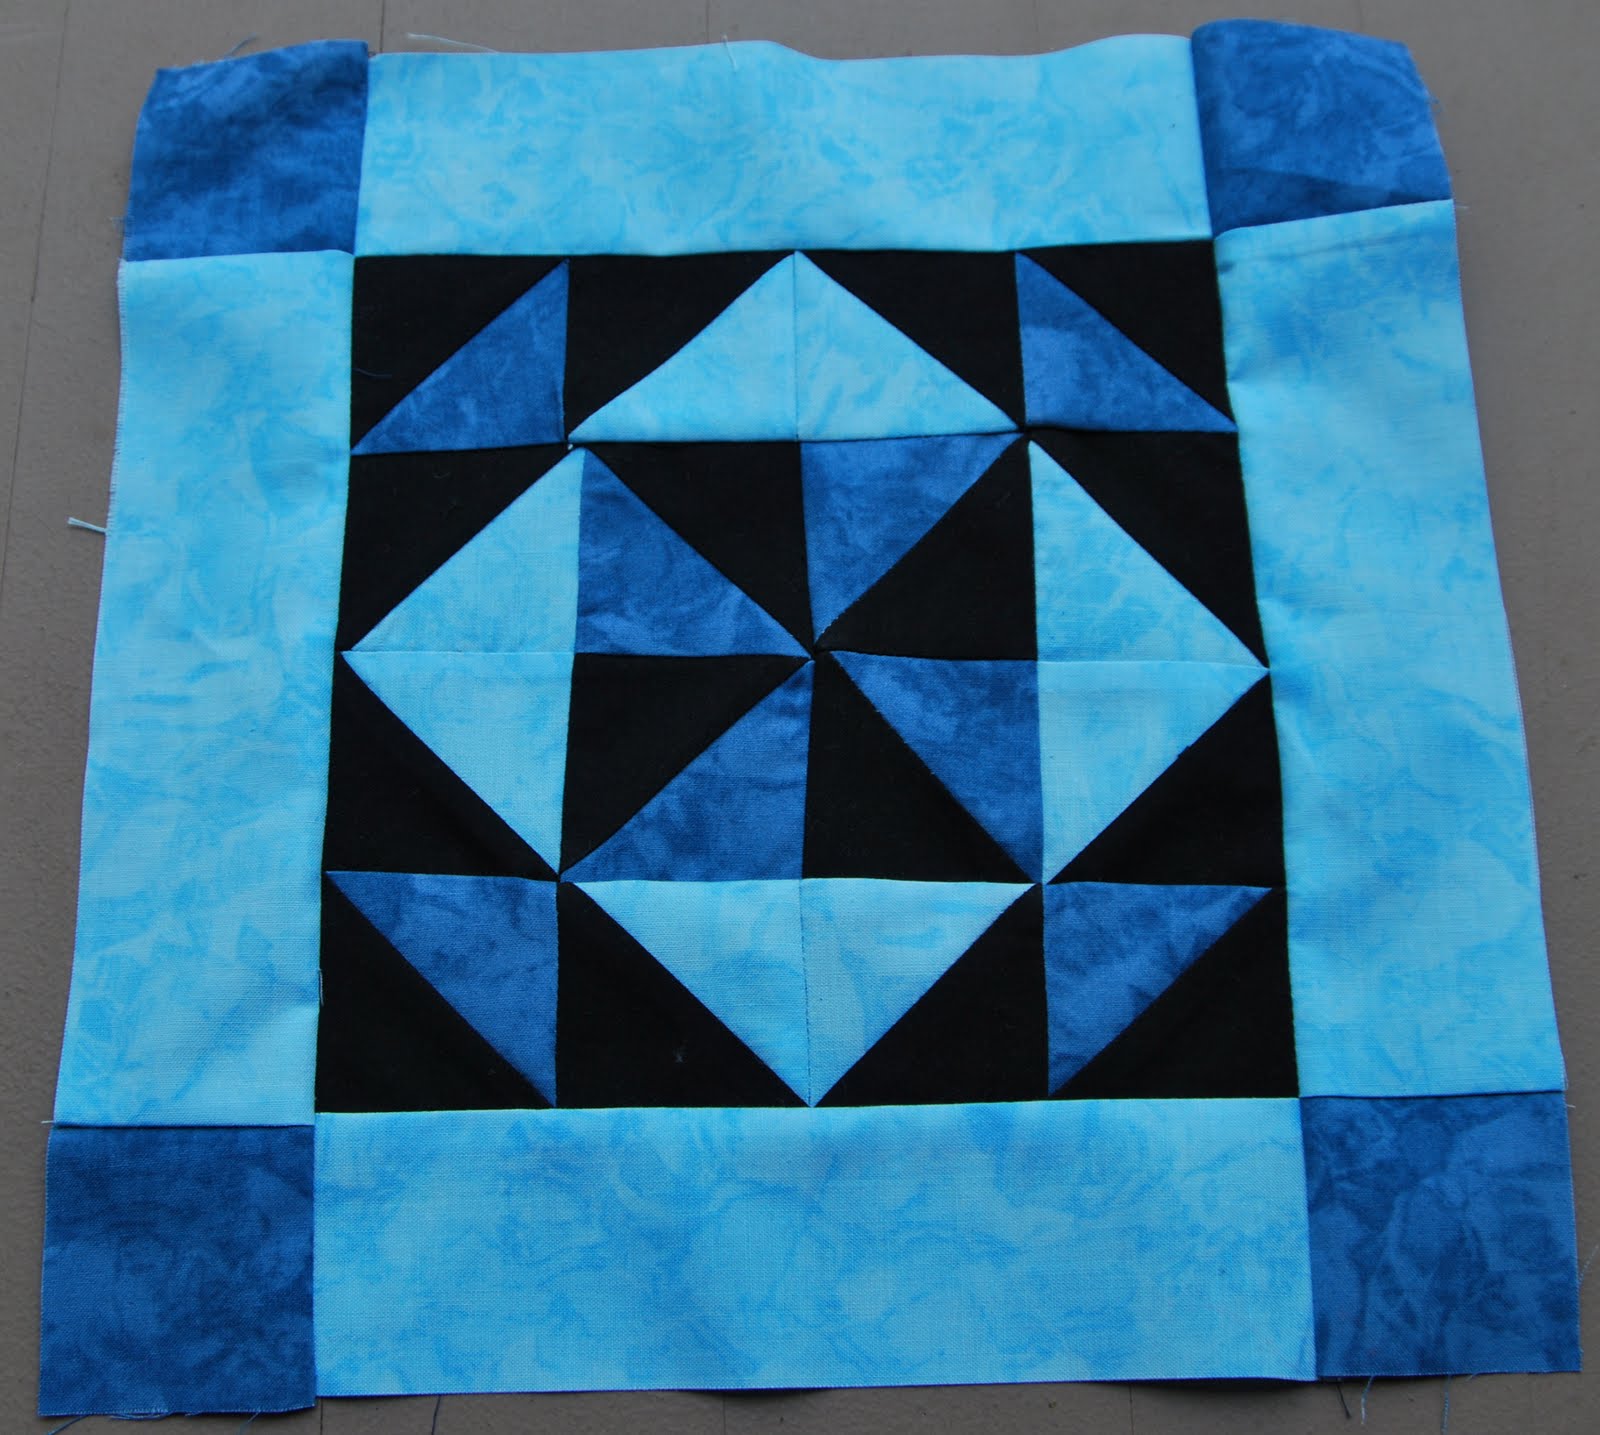
Starry Night BOM #5

It's so hard to believe, but FIVE months have gone by. I don't think that's one of the goals of BOM clubs, but boy do they help you see how quickly time passes.

This is my fifth block.


I actually ripped out one of the rows and re-sewed it because it was so far off. I do see progress in the tightness of my corners, but boy, do I still have a long way to go.

I also signed up for a Sharon Pederson, Roses of Rememberance applique BOM that starts in January. I'm really excited about that because I have almost no experience with applique.

My next pictures will be of the baby clothes blanket I'm making for a family member. It's all cut and laid out, all that's left is the fun part...SEWING!

Tuesday, November 16, 2010

Babies, Babies everywhere

For the last week, the only sewing I've done is to make two baby blankets. They're done in the style of one of the projects in Betz White's book Warm Fuzzies. I've made so many variations of these great blankets since first buying Betz' book it seems. It's such a quick project, and people really seems to love them.

The first one is a very small version, for my cousin's newly adopted son, Jaden. Dave and his wife traveled all the way to Korea, and are home with their amazing new family addition. This one is traditional blues and greys.


The second was for a co-worker, who is going to his niece's christening later this week. This blanket is for a baby who lives in Miami, so the backing is quilting cotton instead of flannel. One thing we talked about is that even though they're in Miami, everything is air conditioned, so a warm blanket is still top on a new baby's list.


I try to include some vintage trim on every blanket. It feels more personal to me that way. And bigger babies and toddlers seem to like the textures to run little fingers over.


You'd think I'd learn my lesson about taking photos indoors. No more. Chilly weather or no, back outside I go. The colors are just not vibrant enough.

Up next...I picked up my November BOM project, and I have a blanket started made out of actual baby clothes. Should be fun! The blocks look really cute so far.

Monday, November 8, 2010

A Wonderful Non-Sewing Weekend

I hope I don't disappoint, but this post will have nothing to do with sewing other than a reference to my NEXT post. My husband and I went to NYC overnight to go see my favorite musician ever, Bob Mould at City Winery. I've seen him probably 5-6 times before, but I go any chance I get. Besides, it was a nice excuse for a quick getaway. One of the benefits of being so close to New York.

City Winery is a great venue to see musicians. You are close enough to feel like they are performing just for you, and yet the acoustics are amazing. I was 5 seats back from the stage and in sheer heaven.


Saturday morning, we started our day with a breakfast at Katz Deli (a la When Harry Met Sally). Who doesn't like pickles with their corned beef breakfast??

Then we walked all the way downtown and walked over the Brooklyn Bridge. It was so much fun.

This is what you see when you hit the boards that are actually the bridge. Funny, I couldn't decide if they were trying to say "yes, you CAN walk here" or something else. But I loved these walking men.


Then we have Rob, camera ready to take great shots of this really cool landmark. His pictures are amazing, and I'll have to post a link to his site. Mine are just barely enough to remember where I went and what I saw. As you can see, a lot of my pictures are of him, taking pictures!


Then my sweetie did the "hold the phone out and snap a picture of ourselves" thing. I actually think it's cool because you can see the bridge in the background.


If all of that wasn't exciting enough, on Sunday, we got in the car and told the kids we had a "HUGE" surprise for them. They have been begging for a dog for what feels like forever. Every now and then, either I would look at rescue dogs, or Rob would. And we would email each other pictures of ones we thought might be a good fit for our family. It was pretty whirlwind, and after all of this waiting, actually a pretty impulsive feeling decision, but we made an appointment to meet Ellie on Saturday and went to get her on Sunday.


We got her from Companion Pet Rescue, a great rescue and transport group that brings dogs up from Tennessee. Ellie was found pregnant in a field there. All of her puppies were adopted, and she was left. She is friendly, happy, housetrained, affectionate and basically, all around perfect for our family. We couldn't be happier.


I did manage to sneak in a little sewing on Sunday afternoon. I made a blanket and a half for my cousin's new adopted son, and for a co-worker going to a christening. I'll post pictures of those next. I also made great progress on my first tutorial. It's all written, and pictures taken. I just need to make it into a pretty PDF to link for folks to be able to print out.

Happy Monday!

Thursday, November 4, 2010

Fall Quilt Market 2010 - My Whirlwind Version

Last weekend I went to QuiltMarket for the second time. It was a completely different trip from my first Quiltmarket this spring in Minneapolis. Last time, I went to meet people, get the lay of the land, and experience what exactly this whole “Market” thing is about. The intention was that when I came back in the fall, to pitch my fabric line, I wouldn’t be so intimidated. Oh. Well. So much for that.

Ever since my trip in May, I’ve been working on my fabric line. I’d been compiling a book of “inspiration” long before that. I ended up with five designs in three colorways that I was happy with. Ones that I felt were strong enough to be presented. I had loads of other designs that I had started on, that were either unfinished, or “unworthy”.

I had the guide from the Minneapolis market, so I reached out to a number of companies to make appointments to show my work. After all was said and done, I had four set appointments and a few “stop bys”.

I met with the Art Directors of companies, and got some great, solid feedback. There were shortcomings in my line, which were universally pointed out by all of the companies. The positive in that, is that because the feedback was so consistent, I know exactly what I need to do to fix it. The negative part was that I had to hear “we need more than this” so many times in a row.

My path ahead is quite clear. I know exactly what I need to do. Three of the four Art Directors clearly said, make the changes and come back to me. That’s a heck of a lot better than “take this junk out of my booth and don’t ever come back here”.

One of my big goals is to blog about my sewing adventures, at a minimum of once a week. My goal for 2011 is twice a week. I hope you’ll all hold me to it.

Until then, here are the few measly pictures I took of quilt market between my appointments:

My roomie and pattern designer, fabric designer, all around sewing guru extraordinaire Bari’s amazing first booth ever


AMAZING and so Bari...loved it.

A bad blurry shot of the amazing Amy Butler’s booth, with her raincoat (I already have this pattern; I’m waiting to find just the right laminate to make it in).


And a really great quilt in Tula Pink’s booth with modern graphic alphabet letters.

Tuesday, October 12, 2010

This Week's Projects

This whole BOM thing is working out pretty nicely. I can usually get them done in about 45 minutes or so and I really feel like I accomplished something. Here is this month's block. I was really happy with how my points came out, until I saw what they looked like in the photo! I tried doing all of the light points first this time, just to try something new. It seemed to help with those points, but then, some of the others seemed more off as a result. Hmmmm.


My second quick project for the long weekend was this ADORABLE bag, in the Fall 2010 issue of Quilts & More magazine. The pattern is by Monica Solorio-Snow, also known as Happy Zombie. She is amazingly talented, and this quick bag is one example.


In the magazine they're shown with "treats" for Halloween, but I made mine with something else in mind. I used some Amy Butler Love for the main body and some Oliver & S City Weekend for the coordinating bottom and inside (one of my spring Quiltmarket Sample Spree scores!).


It is the perfect size and shape to hold a gift card with a little bit of tissue sticking out. I'm going to make a whole bunch of these for teacher gifts for the holidays to put coffee gift cards in. I'll probably make some for the friends and family too. They go together super quickly, about 35 minutes for my first one (bet I'll be a lot faster now too) and they are like instant gratification. I also used some vintage grosgrain ribbon from my stash. What's better than that?


I'm trying to work on a last round of edits for my designs that I'm taking to Quiltmarket at the end of the month. I can't wait to share how that goes.