Showing posts with label UFO. Show all posts

Friday, January 9, 2015

Economy Blocks - WIP? or UFO?

Last year, Economy Blocks were everywhere.  They were filling my Instagram feed, they were in blog posts and Twitter.  Like everyone else, I went to Rita Hodge's Red Pepper Quilts blog and used her great tutorial from August of 2013 to start making blocks.

I didn't have a ton of experience with fussy cutting so this was a learning experience for me.  I loved that I could save (and use!) the tiniest scraps of my favorite fabrics to make these quick and easy blocks.

These are four of the ones I have done.

One thing I realized after I got a bunch made was that I was all over the place with the colors.  I have no idea if these will make it into a quilt or not.  They might be too wild all together.  


Made from Heather Ross TINY scraps. Ice cream TRUCK!!
  I do have a thing for orange. Light, dark, polka dots.  I love all things orange.

Fairy Tale Friends pieces from left overs of a charm pack
More tiny scraps of Mendocino and some of my favorite old Yummy Goods swirly thingys.

Note the ORANGE seahorse
This is one of my Bari J. blocks.  It's a mixture of three of her lines I think.  Look at that bird!! I actually got him right into the center.

Orange and pink

So all together, these four look great.  But wait until you see them next to my experiments with orange and blue.  Yikes!


Have you made an Economy Block quilt?  Was it lots of mixed colors or a specific palatte?

Wednesday, July 23, 2014

Loft queen size quilt - finally finished, and I LOVE it

I bought the fabric for this quilt a year ago in February.  It was my first attempt at picking out all solids for a quilt.  Even with that, you can see a bit, that the grey is a marble and the light blue does have a tiny pattern on it.  The pattern is called "Loft" from Quilts Made Modern by Weeks Ringle and Bill Kerr.    I chose the book because it had a lot of description about colors, and choosing colors, and how your choices effect the final overall look of the pattern.

Here it is, mid-July a year later.  I absolutely LOVE how it came out. It will be for our guest room and I am looking forward to someone using it!


"Loft" - my first "modern" quilt

My Aunt Tala did the quilting.  It came out AMAZING.  One of the goals for the quilt was for it not to look too "girly".  I love that the quilting matches the more modern style piecing.  Of course, if you look closely, you can see that my rows are not perfectly aligned, but overall, I'm very happy with how the alignment worked.  The rows were LONG and a few of them were hard to make line up well.


Quilting by Tala

The back I made from two of the bolts that I got when our local JoAnn moved to a new location and had super clearance prices if you took the whole bolt.  I only bought six, which I think showed tremendous restraint.


Here is a close-up of the two backing fabrics...both dots.  I love polka dots.


This quilt, although it took me well over a year to finish, has really inspired me to work more with solids.  Which do you prefer?  Solids or prints?


Friday, January 17, 2014

First Finish for 2014 - 2 year old Tula Pink Field Study Quilt (Heather Ross Mendocino Included)

So I finished this quilt top on January 2, 2012.  That's over 2 years ago.  Is it just me or is it frightening how quickly the time passes?


This was the first quilt that I used some of my very precious stash of Heather Ross Mendocino fabric for.  Orange is my favorite color, so it was a big deal for me to cut into it.  I am thrilled to finally be able to use this to keep me warm on the couch and see those seahorses every day!  You can barely see them in the lighter orange arrows at the bottom and top.

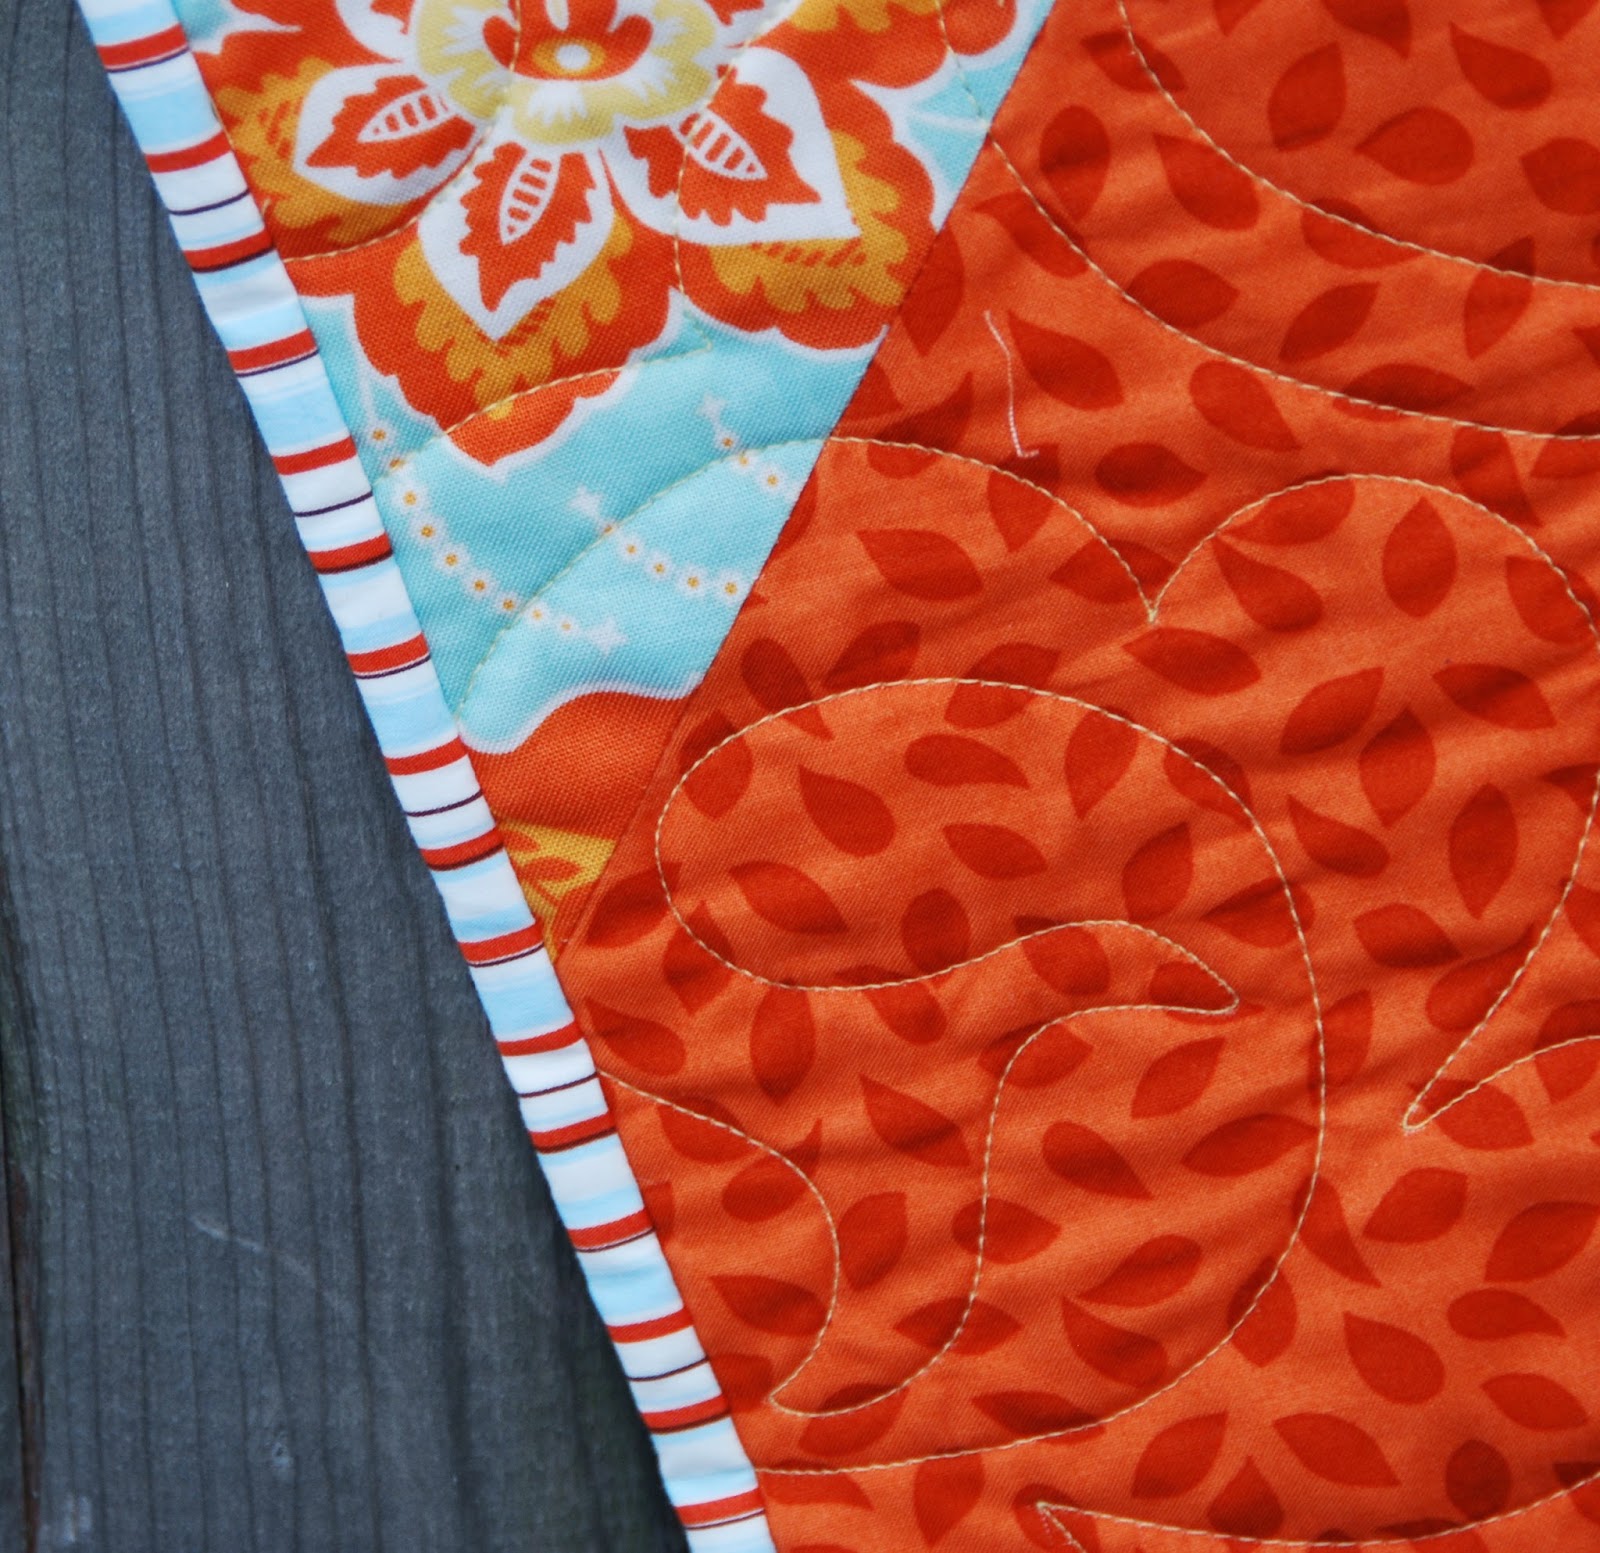
I am also on a striped binding kick.  So what better choice than some Heather Ross stripes to finish this off?

Close up of the AWESOME striped binding
Now I'm back to the quilt that I'm making for our guest room.  I started it last spring, and got sidetracked.  What else is new?  The big deal about this quilt is that it's full/queen size, which is the biggest top I've made to date.


Saturday, December 28, 2013

Old UFOs finally finished in 2013 - Including my first quilt

Just like it took me forever to get around to getting these two quilted and bound, it took some time to get pictures and post them.  I don't know about you, but 2013 was pretty busy up in here.

This is a quilt that I got from the 2010 Spring Issue of Quilts & More.  So, it took me 3 full years from start to finish!  I chose colors that were a lot like the cover of the magazine, in part because it was my first finish and I wasn't really trusting in my ability to choose something else on my own.

I am thrilled with how it came out and it can now be used by my family.  Of course, it won't be white for long, but it will get used!


The second is a pattern called Off the Rail by Jaybird Quilts.  I used an Anna Griffin fat quarter bundle that I got a quilt market a few years ago and it's going to a new home.

This quilt is being donated to my cousin's auction, she is raising money for her first IronMan competition.


This was the first quilt that I pieced the back for instead of being all matchy-matchy and making the entire back out of one fabric.  I LOVE how it came out.


I'm finishing up my what I hope will be my first finish for 2014, a quilt I started a mere 9 months ago for our guest bedroom.

Sunday, January 6, 2013

Painfully close to TWO YEARS ago, I did a post about buying an Accuquilt machine and that I had cut the pieces for a tumbler quilt for my daughter.

Today, I actually finished the quilt top, and I'm calling it a success for two reasons.  One, is that I consider this my second finish for 2013 (because I'm not going to quilt it, someone else is) and two, because it's a UFO.  Finishing up started and abandoned projects is one of my top two goals for this year.


I got a bunch of red, black and white fat quarters while I was doing a shop hop a few years ago to match the dalmation minky that Ally picked out.  It's a nice lap size about 36" by 48".


Finishing up UFOs goes a lonnnng way in relieving my guilt when I start spur-of-the-moment projects like the scrappy trip along quilt.  I have two blocks of the 16 done so far, and two more laid out and ready to sew.  I can't wait to share that one.

Thursday, July 12, 2012

Off the Rail Top Finished! JayBird Pattern Review

I realized I never posted pictures of my finished Off the Rail quilt top. I know I showed you all pictures along the way as I cut and made the blocks. I am super happy with how the finished top looks. The sad part is that I have no idea when I will actually get to quilt it. I move so quickly onto the next project my "to quilt" pile is getting pretty tall.


Julie of JayBird Quilts makes absolutely fantastic patterns. Her directions are clear, and the pictures make it so that you see exactly how things are supposed to come together.

This however, did not stop me from getting some of the blocks sewn together backwards. Honestly, I cannot fathom how I did this...if you look at these two blocks, you can see they are headed in opposite directions. That's not how it's supposed to be. I did the blocks in groups of 5, and at least one of the groups, I managed to put the first set of rails on the wrong side of the center block and get them backwards. Can you say "duh"?


Thankfully though, I absolutely LOVE how it looks finished. This will for sure be a keeper when I do manage to quilt it. I originally was afraid of how the pink and orange would look together (along with green and brown). All that doubt is out the window now that it's together.


Monday, June 14, 2010

My first actual quilt...a super long term UFO

The weekend before last I took the kids up to Cooperstown to visit my cousin Amy and her parents (you can read more about them on my Mother's Day post). The weather actually cooperated, and it was a lovely 80-ish and sunny. I love going there because I really relax. This is me lounging, while Ally enjoys the pool with Auntie Amy.


Amy's mom, who is my Aunt Pat, is a crazy accomplished quilter. So I dragged my sewing machine and my first quilt top with me, thinking with Aunt Pat's guidance, I would swallow my fear of quilting and binding and just dive in.

This quilt top mind you, has been done for at least a year. The pattern is from an easy quilt magazine, I'm not even sure which one. But it's made with Mark Lipinski's Califon, the first designer line I ever fell in love with.


Of course, I forgot to bring my batting, so we had to make a lightning fast last minute run to a quilt store (as it was closing at 5 pm on Saturday!) to get some batting. I used this great green stuff that is made from recycled plastic bottles, and I actually really love how nice and heavy it makes the quilt feel. The top is about 42" square.

Aunt Pat helped me with the spray adhesive and get everything nice and flat. Then she said "Go ahead and baste it. Starting from the center, out into eighths." So I did. BY MACHINE. You can see what my not-so-smooth quilting looks like. It's not perfect...but I do like the look of the curved quilting stitches.


Of course, when she saw me she said "Oh, I meant by HAND. That's going to take you forever to rip out." I may actually have seen a tiny smirk when she said that last part.

Can you say UGH?? It took me a full hour and half to pull out the basting stitches. But it's done. And because I saw some of his amazingly gorgeous quilts at Market, I asked Scott from Blue Nickel Studios what his preferred binding method was, and he sent me a tutorial.


So my longest running UFO is slowing becoming an "FO". I have the binding started. I'll post pics as soon as the quilt is done. But I'm proud of getting this far.

Stay tuned!

Saturday, March 27, 2010

This UFO is finally "F" - Fig Tree Bon Voyage Pattern Review Garment Bag

I'm on a roll folks! And I'm going to run with it. If I've learned anything in life so far, it's how strong and powerful momentum can be. I've had this unfinished project on my sewing table....wait for it...since November. It was supposed to be a Christmas gift! I do realize in the grand scheme of sewing lives, that's not even "long", but it's been taking up valuable space and taunting me...so finish it, I did.

The garment bag is for my mother in law. Every time she comes to visit us for the weekend (yes, weekend) she brings bags, and bags and BAGS of stuff. I decided that she needed something personal to carry it all in. After much digging, the Fig Tree Bon Voyage bag looked to be exactly what I was trying to find for her.


After reading the pattern, and realizing my own limitations as a quilter, I decided to go ahead and buy pre-quilted fabric. I know, I know...I can hear the gasping and choking and see the chest clutching from here. But really folks...I'm a sewer first, and a quilter, like, 10th. My quilting skills are still very mediocre at best and I wanted to be able to focus on the construction of the bag. Besides, this print is SO my mother in law. I know she'll love it. (AND, it took me over 4 1/2 months as it was!).

Here's my finished product:


A few things to note about the pattern before I start. I didn't use a contrasting gusset fabric, as they did in the photo. Nor did I add on the optional pocket. I had a lot of trouble trying to figure out the placement of the pocket, and how it would work without your things all falling out, and I made the executive decision to just not add it. (Again, it took me over 4 1/2 months as it was!)

What I liked about the pattern the most, was the labeled pieces diagram at the beginning, which were also color coded. Had it not been for these, I would have struggled even more than I did. The steps were laid out well, and the overall directions were written very clearly.

What I didn't like about the pattern was the lack of detail around how you got the two gusset sides to come together at the top. I couldn't for the life of me envision it while I was putting it together, and there was no graphic or diagram in the pattern. I ended up trying a few different ways before I got it work out the way I think it was intended. Now that it's done, it looks great, and actually is pretty straightforward, but...alas...as is often the case, I overthought it.

Another thing I really love about the pattern is this:


All of the interior seams are bound and it gives the bag a really lovely, "finished" feel.

I also did add a little zipper pull, beacuse there wasn't any mention of one, and the only zipper I could find that was long enough was brass and isn't as smooth as I'd like. The long pull makes it much easier to slide it up and down to open the bag.


One photo on the back of the pattern shows the bag folded in half using the loop, and I really liked that feature. Especially if you have to travel on a plane or somplace that you are super limited in hanging space. You could fold the garments in half, and the bag looks fantastic, and I think, given it's structure, will hold the clothes nicely.


All in all I'm happy with the final product. Please, under no circumstances ask to see what the inside looks like, or for detail shots. This is most definately a "prototype" version.

I would say this pattern is for an intermediate sewer, at least. It's certainly not a beginner pattern. But the end result is polished and chic looking. If I had actually chosen the fabric and quilted it myself it would make a downright gorgeous bag.