Saturday, October 25, 2014

T-Shirt Quilt number 2, back from the dead

Wow is that scary.  Months and months go by and I barely pick my head up to look around and see what I’m missing.  But we had an awesome summer, with some really fun vacations, and I have been sewing, just not taking pictures of my work or taking any time to reflect on it.

This t-shirt quilt that I made for my son was the second one I made.  I made one for a customer earlier this year, and my son loved it so much he immediately made a pile of his old shirts for me to make him one.  Like with SO many other projects, I had it all cut out and the top sewn in less than a week.  I did it all while we were at the Cape in June.  

20 of his old favorites
Flash forward to last week and I was just putting the binding on.  But look, he loves it, and I’m already working on one for my husband.


(photo approved by new quilt owner)

I use Pellon 101 woven fusible interfacing to firm up the t-shirts.  It’s time consuming, but the body of the quilt is nicer, and it’s thin enough that it doesn’t take away from the awesomely soft t-shirt feel of the finished product.

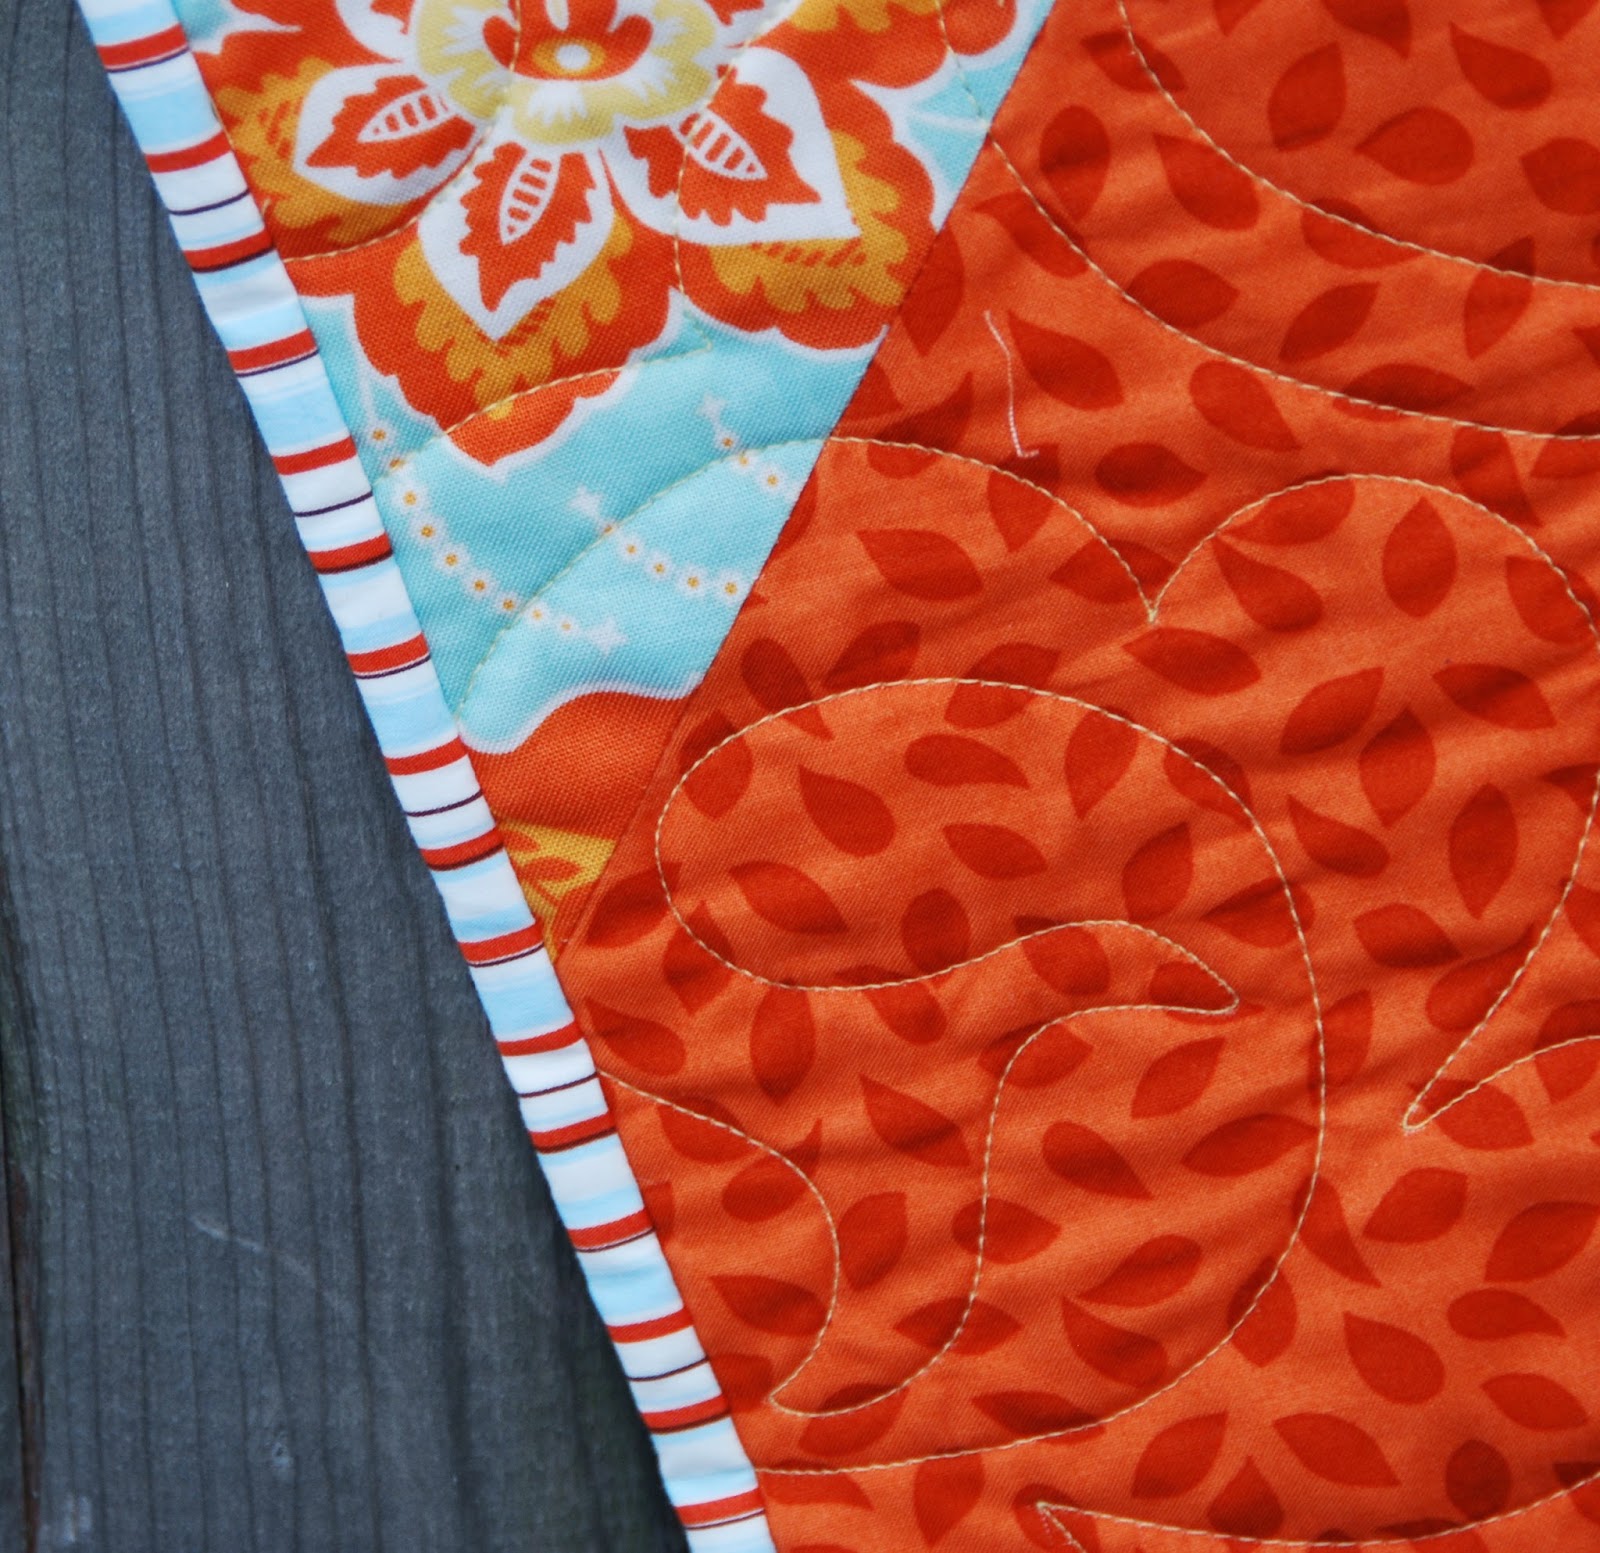
This shows the back - one of the first fabrics I ever bought

I’ll probably make one for myself out of my race t-shirts.  I never wear them, and I won’t feel so lazy resting under a quilt made of shirts I had to RUN to earn!

Wednesday, July 23, 2014

Loft queen size quilt - finally finished, and I LOVE it

I bought the fabric for this quilt a year ago in February.  It was my first attempt at picking out all solids for a quilt.  Even with that, you can see a bit, that the grey is a marble and the light blue does have a tiny pattern on it.  The pattern is called "Loft" from Quilts Made Modern by Weeks Ringle and Bill Kerr.    I chose the book because it had a lot of description about colors, and choosing colors, and how your choices effect the final overall look of the pattern.

Here it is, mid-July a year later.  I absolutely LOVE how it came out. It will be for our guest room and I am looking forward to someone using it!


"Loft" - my first "modern" quilt

My Aunt Tala did the quilting.  It came out AMAZING.  One of the goals for the quilt was for it not to look too "girly".  I love that the quilting matches the more modern style piecing.  Of course, if you look closely, you can see that my rows are not perfectly aligned, but overall, I'm very happy with how the alignment worked.  The rows were LONG and a few of them were hard to make line up well.


Quilting by Tala

The back I made from two of the bolts that I got when our local JoAnn moved to a new location and had super clearance prices if you took the whole bolt.  I only bought six, which I think showed tremendous restraint.


Here is a close-up of the two backing fabrics...both dots.  I love polka dots.


This quilt, although it took me well over a year to finish, has really inspired me to work more with solids.  Which do you prefer?  Solids or prints?


Tuesday, May 27, 2014

Custom T-Shirt Memory Quilt

It's been a long time...I have all kinds of pictures of the projects I've been working on, but this is the best, and most fun.

Through the magic of Facebook and a grad school friend (huge thanks to Stacie S.) I was connected with a woman who wanted to make a memory quilt for her son.  He's an adult now, but she had saved a ton of his t-shirts, from camps, places, events, you name it.  He's also moved away from CT, so she included shirts from all the Boston teams (thank GOD I didn't have to sew NY themed stuff, it would have hurt my Massachusetts soul).

It ended up being a little more than a twin sized quilt.  It's on a queen sized bed below, so you could see the sides and the full length.  

I loved making this quilt.  I was so happy with the result, and I think my customer was too.  Of course, Ben has already set aside shirts so I can make him one.  But I told him, he has to get in line.


Finished size 60" x 90"

Saturday, February 1, 2014

2014 Finish #2. Scrappy Trip Along - This one's only a year old!

All quilted and finally bound, this is my second finish for 2014 (it was actually done last weekend, so I'm counting this as two for January).

This is my scrappy trip along from last spring.  It was THE hot thing then, and I climbed right on the band wagon.  This year it's the economy block along...which I'm sure I'll be starting soon.  Red Pepper Quilts has a tutorial that I just love.  I just can't help myself.

Kate Spain "Central Park" fabric for the top
The binding is bright and cheerful, which is my go-go for 2014.  Go loud or go home.  It's called Beatnik Blur and it's an older Michael Miller fabric.  Lord knows where I got it.

I HEART this binding
And the backing is lime moon dots by Amy Butler.  This was the first fabric that I ever bought 5 yards of.  

MMMMM polka dots

My favorite part of this pattern is that by arranging the blocks differently you can get a diamond like I did, zig zags, chevrons...it's so versatile.  And if you look on either Pinterest or Flickr there's whole groups of Scrappy Trip Along examples.  


Friday, January 17, 2014

First Finish for 2014 - 2 year old Tula Pink Field Study Quilt (Heather Ross Mendocino Included)

So I finished this quilt top on January 2, 2012.  That's over 2 years ago.  Is it just me or is it frightening how quickly the time passes?


This was the first quilt that I used some of my very precious stash of Heather Ross Mendocino fabric for.  Orange is my favorite color, so it was a big deal for me to cut into it.  I am thrilled to finally be able to use this to keep me warm on the couch and see those seahorses every day!  You can barely see them in the lighter orange arrows at the bottom and top.

I am also on a striped binding kick.  So what better choice than some Heather Ross stripes to finish this off?

Close up of the AWESOME striped binding
Now I'm back to the quilt that I'm making for our guest room.  I started it last spring, and got sidetracked.  What else is new?  The big deal about this quilt is that it's full/queen size, which is the biggest top I've made to date.


Saturday, January 4, 2014

Horse Show Ribbon Display Swag - Tutorial

My daughter is in her 3rd year of horseback riding.  She is only 9 now, so she started when she was pretty little.  She only started showing last winter, and last year, she only did two schooling shows.  But this summer, and fall, she started doing formal shows, and ribbons started to pile up.

Some of the other parents said to me "oh, I just took fishing line and hung it corner to corner in my daughter's room, it works fine".  Fishing line?  Not in my house where there's all this fabric laying around.

So I measured the width of the wall I wanted to hang them ribbons on.  It would have been about four WOF cuts, so I cut five 2" strips so that it could swag a bit.  The fabric is from Fleurish by Valori Wells (for Free Spirit).


I did the mitred corners, just as if I was making binding so I could get one long strip.


Then I folded the fabric in half the long way to make a seam, opened the fabric back up, and then folded each side in towards the middle (see the picture below).


Then I folded the fabric together again, so no cut edges were showing, and had about 1/2" wide of a 200" or so long strip.


I sewed a straight line, right up the entire length, right in the middle.  Then I folded the ends back onto the strip and sewed a box to hold them closed.


Here is my sweetie, with her best friend and pony love, Shady.  She has two lessons on him a week and he just loves her to pieces.


This photo was taken at the next to last show for the season, it was a gorgeous fall day and the show was outside.


I hung the strip from one side of the room to the other, and we put all of the ribbons onto it in the order of the places they represent.  She got a lot of 3rds this season, which is fantastic for a first year shower (and there are some 1sts and 2nds in there too!)


There was enough to have three sections, but I couldn't take it all in one photo, so this is the right hand side.  You notice the pink on one wall and blue on the opposite walls?  She wanted her room to look like cotton candy.


This fabric strip is so much prettier and festive looking to me than fishing line.   Besides, I have to find some use for all of this fabric don't I?